Click on the images to get bigger verisons as we continue to paint the cardboard shipping containers.
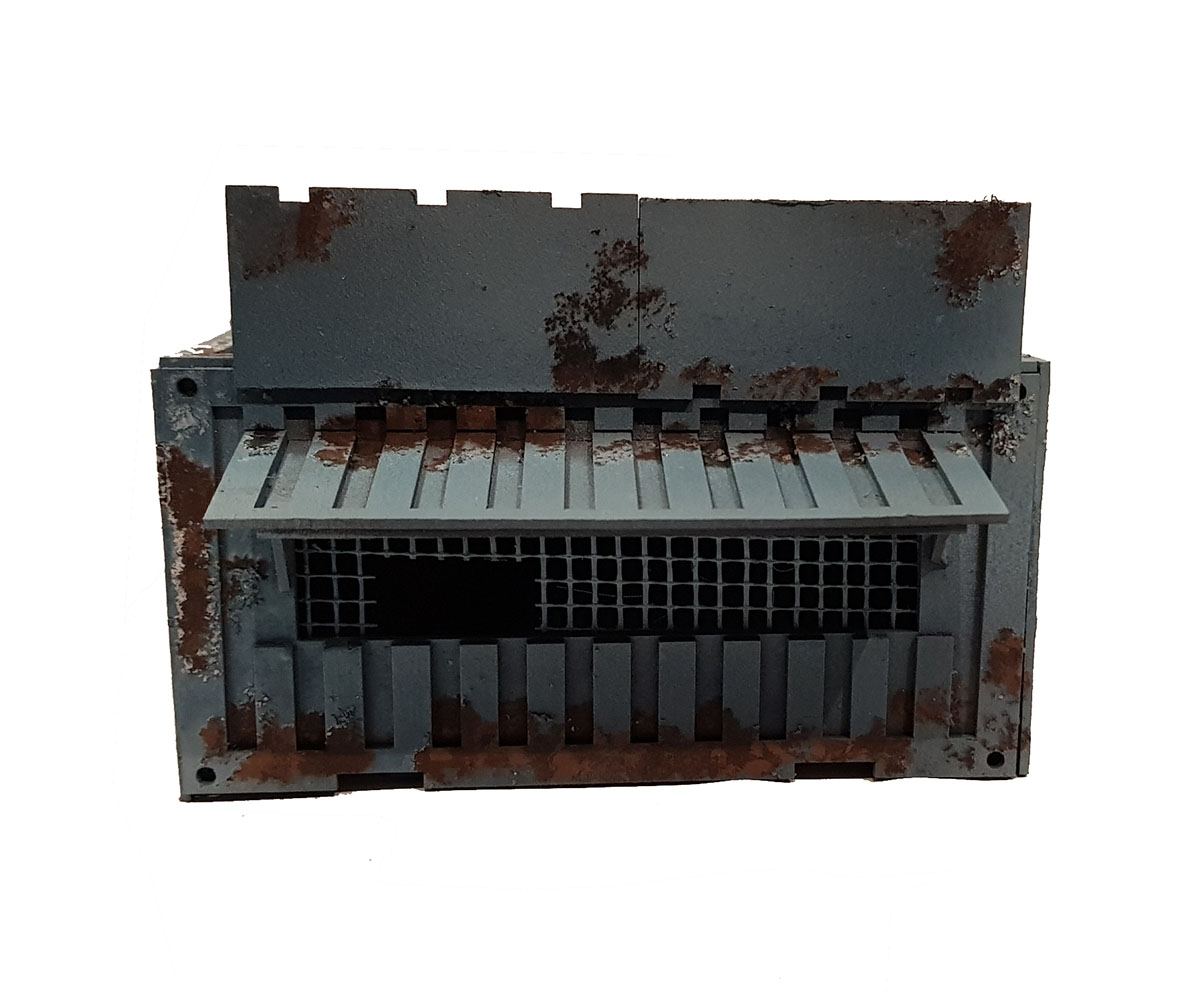
Once the salt is brushed off (I used an old paintbrush and a toothbrush) you are left with something already looking pretty good. The next step is to add some details.
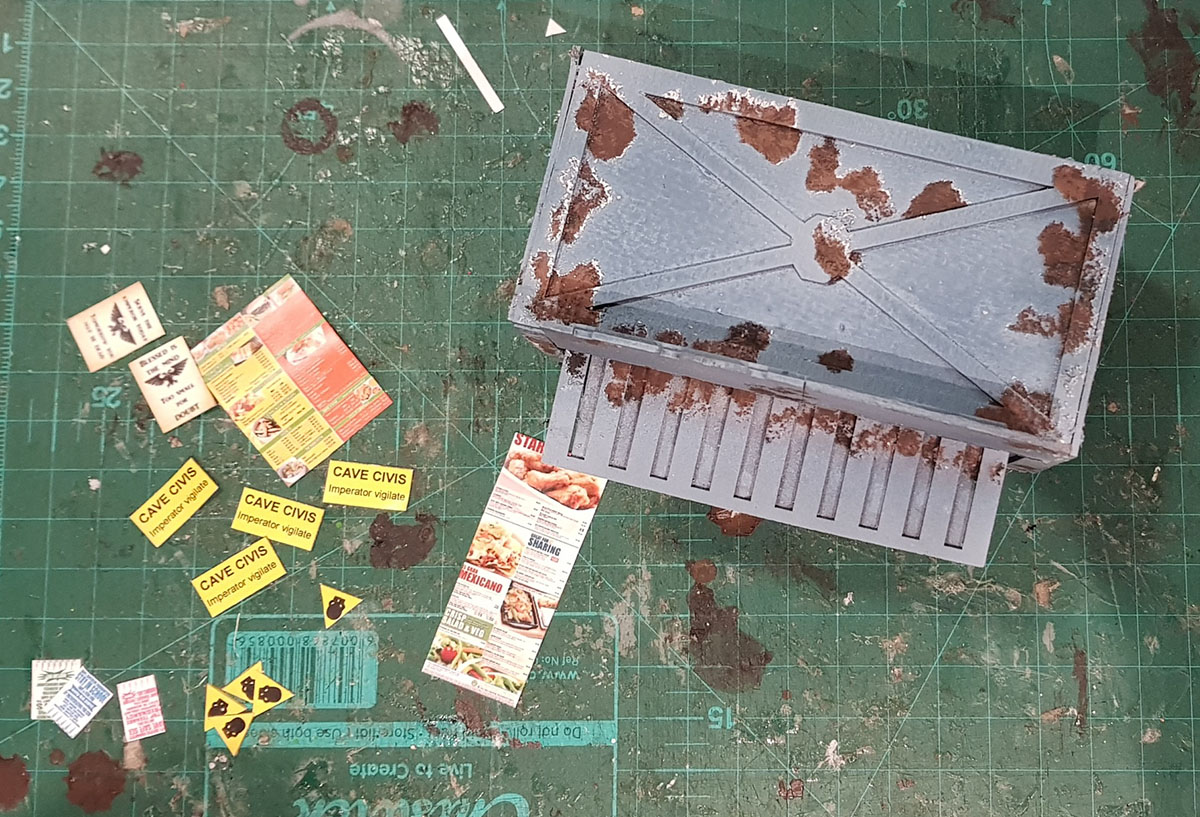
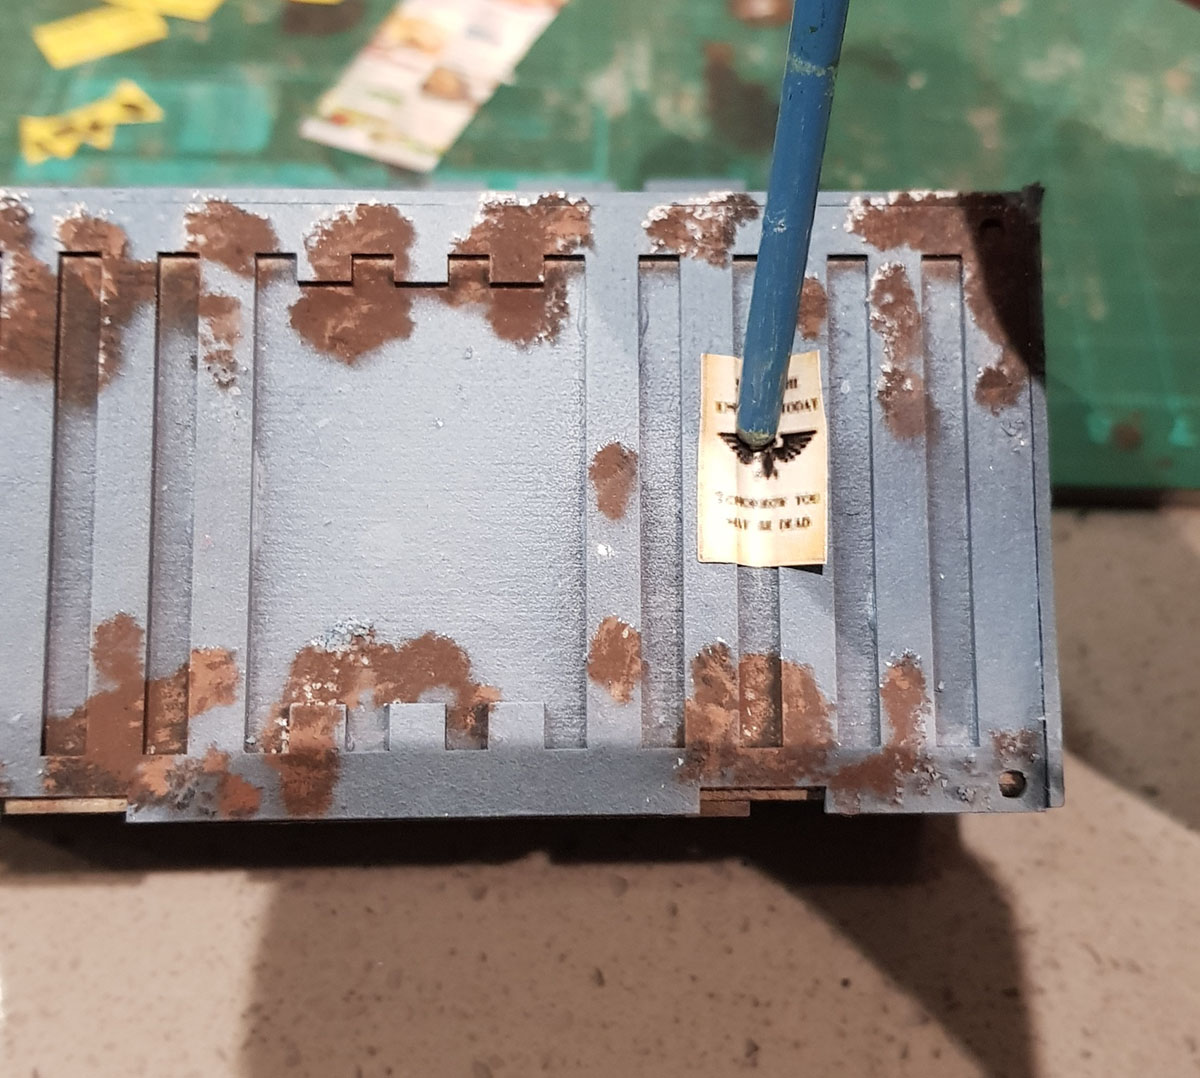
I printed out some mixed graphics to decorate them (there are plenty available online)
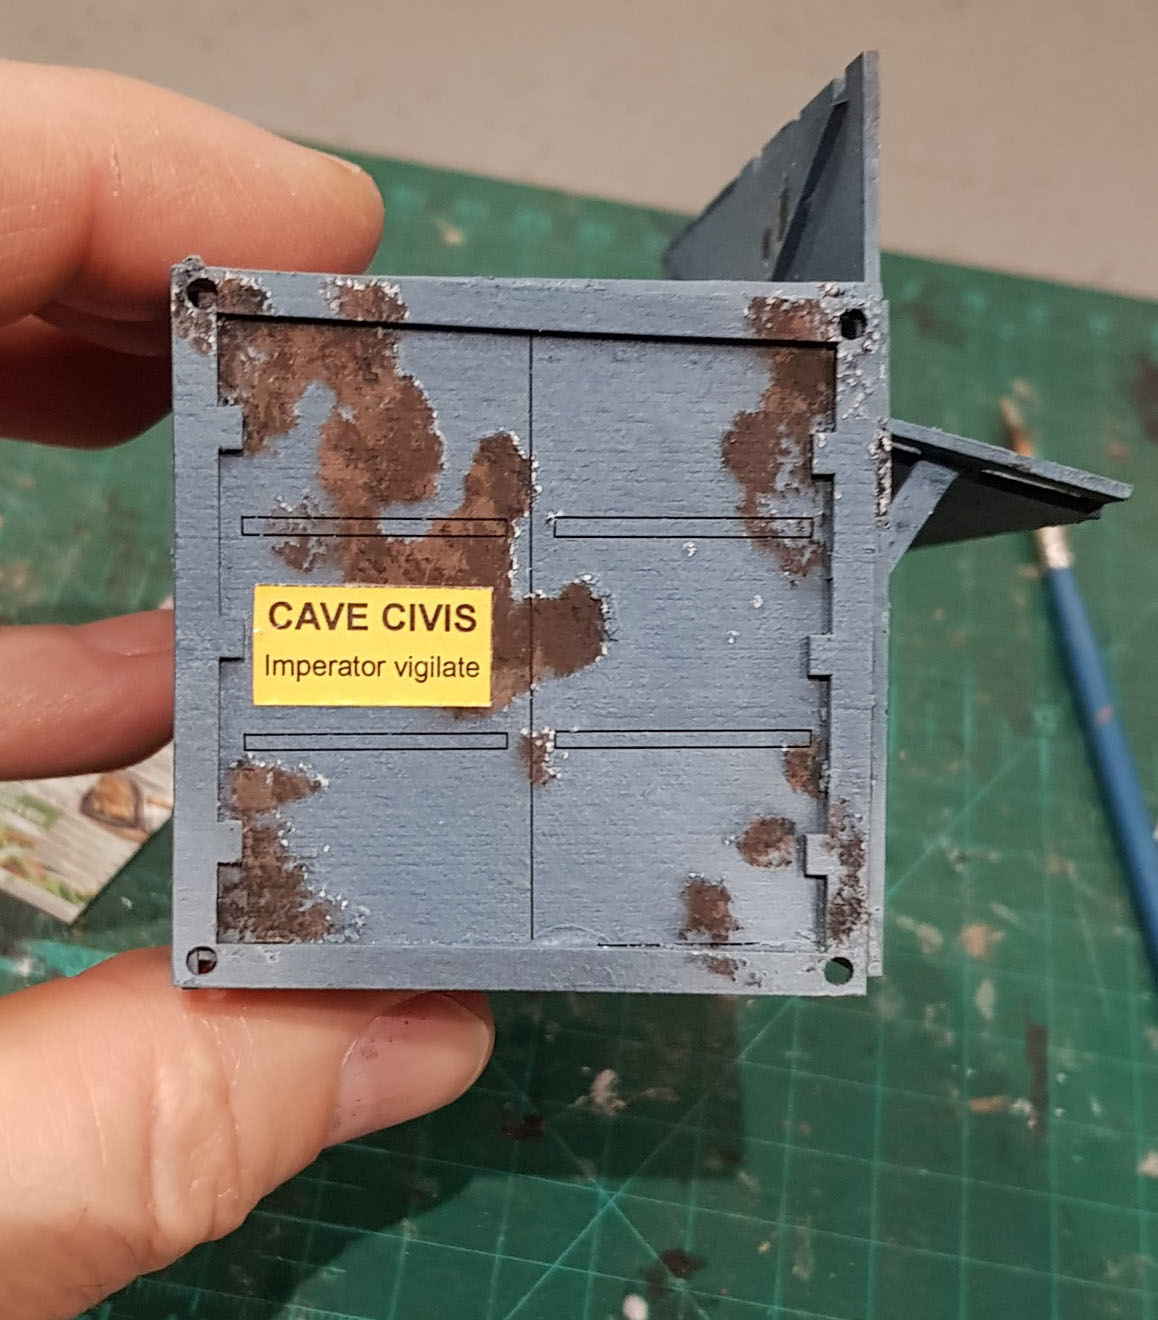
Initially I glued them on with white wood glue…
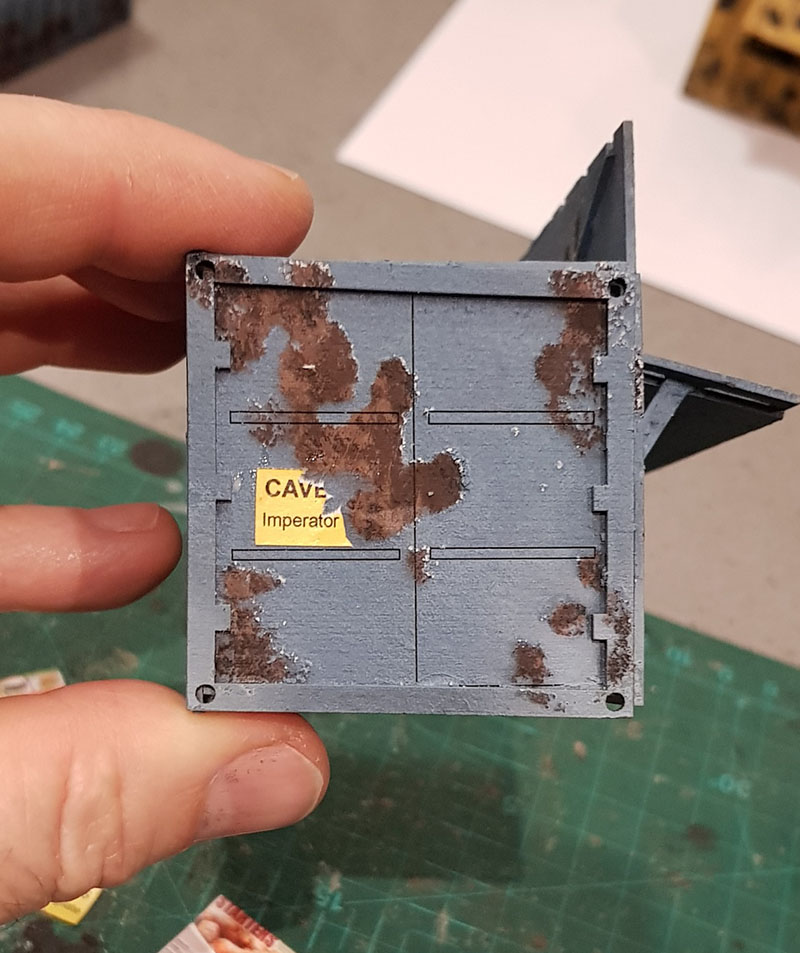
… but while it was still wet I scratched off bits that would have been lost when the container paint work chipped
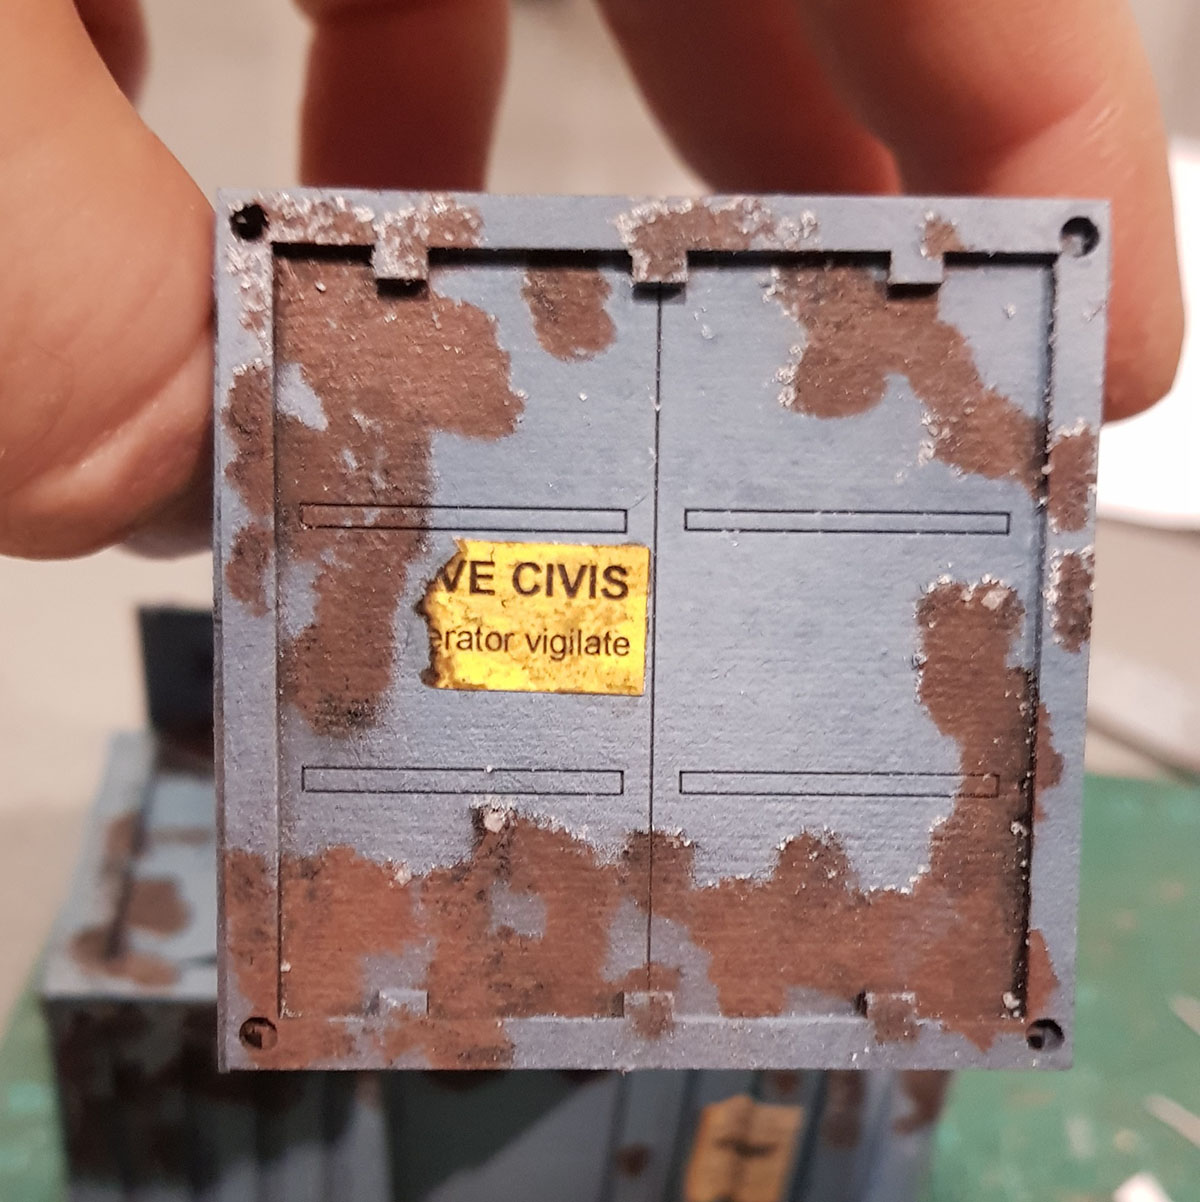
After that, a dirty brown wash to age them. This was GW earthshade
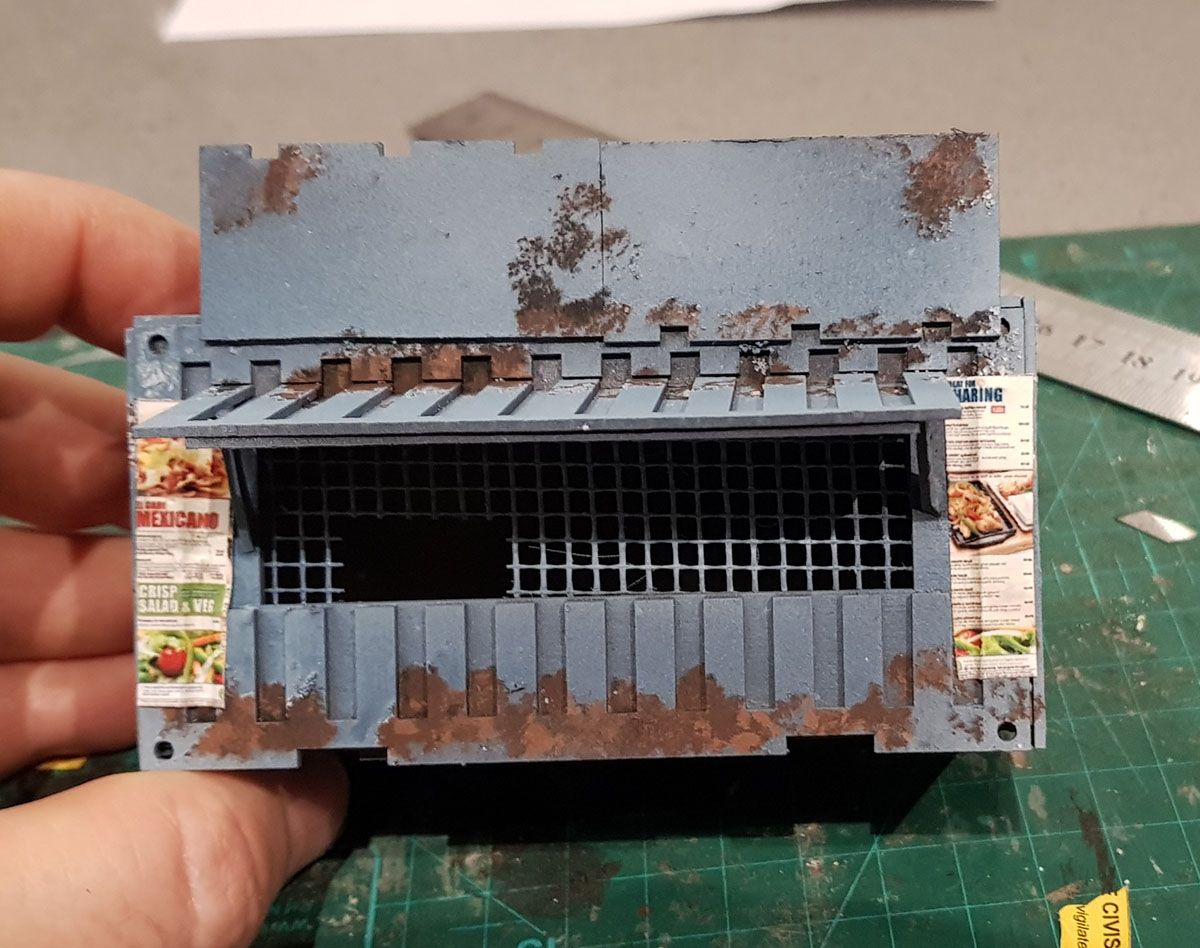
Adding flyers and posters to the sides is easy.. just wet them with glue and then force them into the gully with the back of a paint brush. Once they are seated nicely, smooth down the sides.

Then earthshade for them too
Finally the entire container got slightly thinned earthshade on all the crevices and especially at the bottom
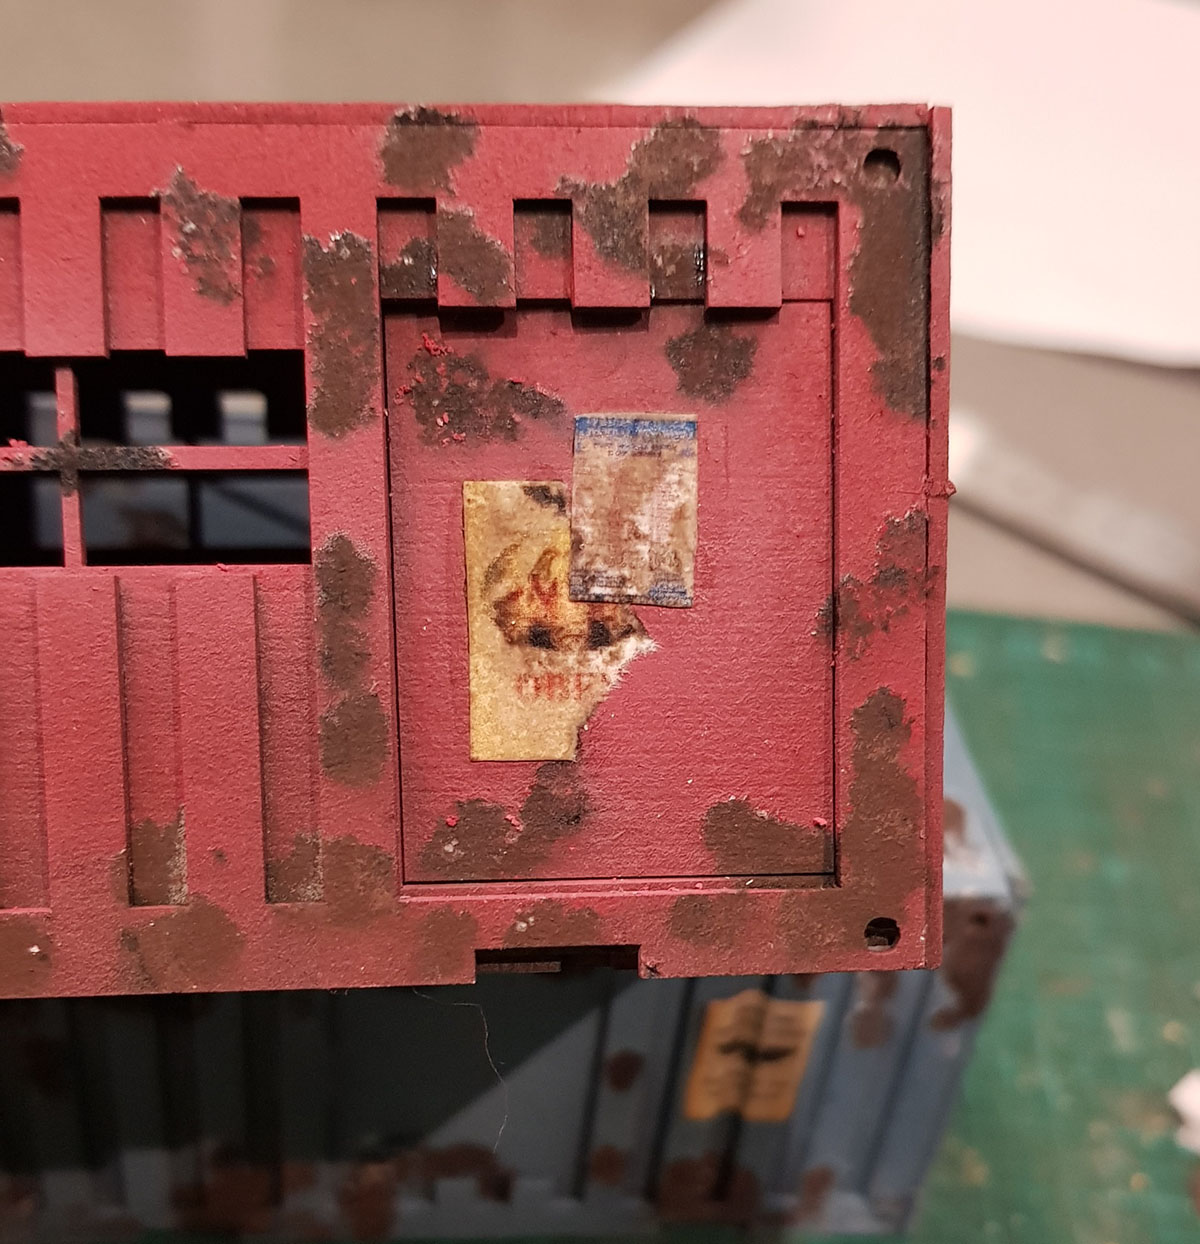
A note on adding flyers… I find that treating the flyers and stickers with contempt makes them loook better. Overlays, torn ones, some half peeled off.. why should the container be a wreck but the flyers be mint?
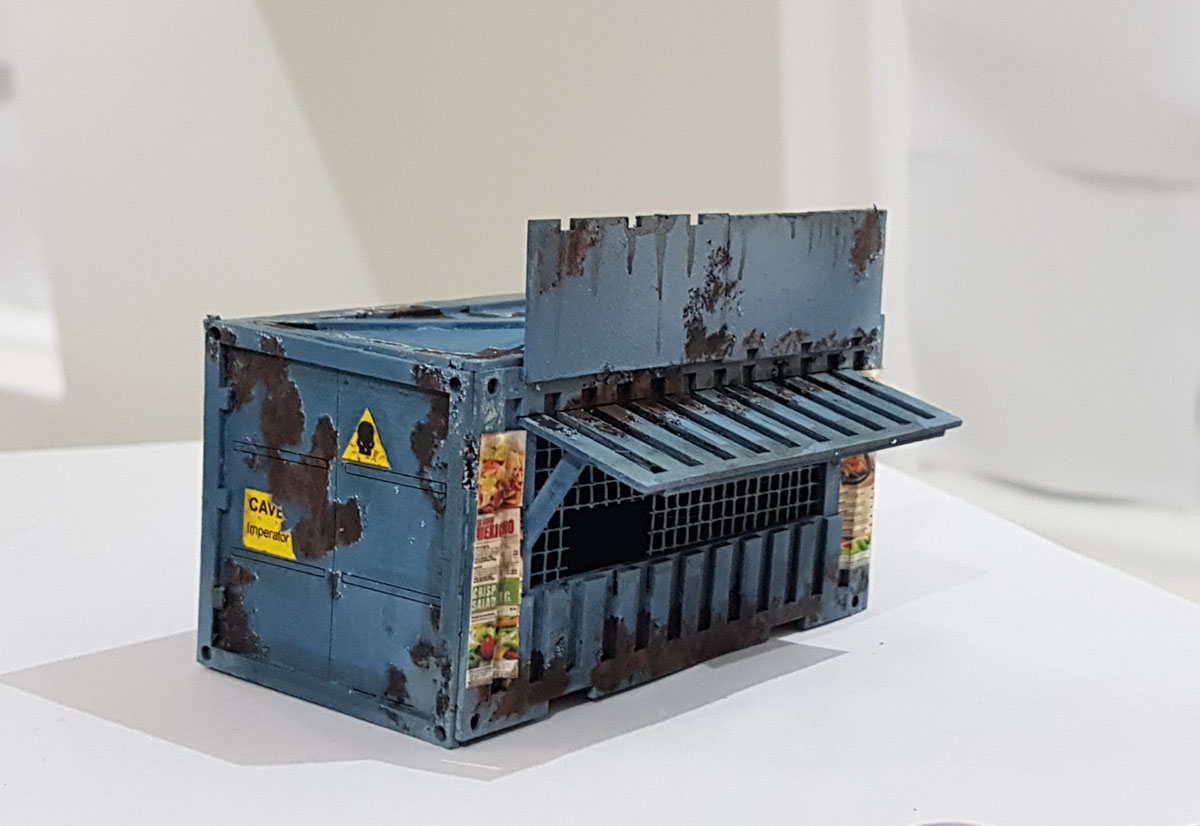
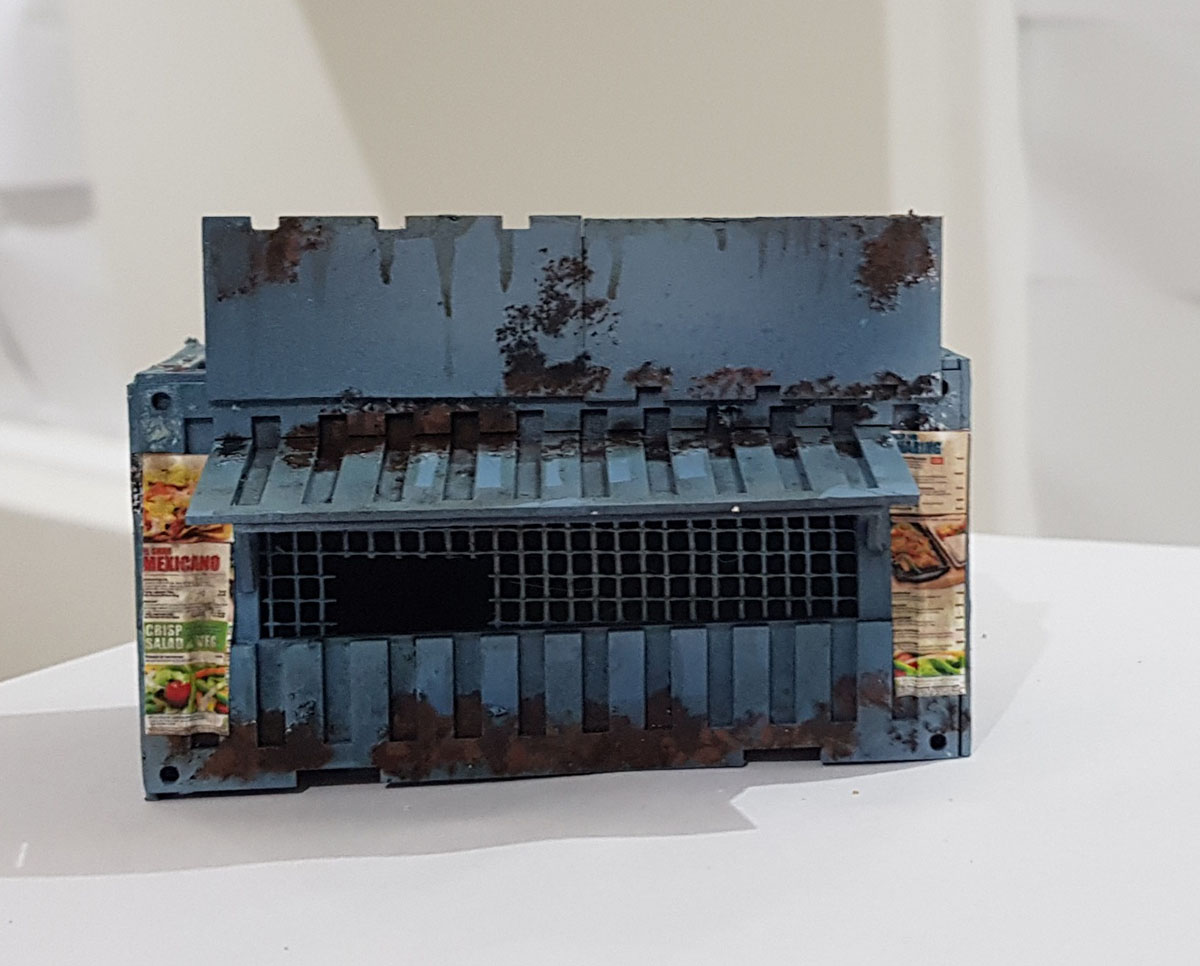
Here is the finished container. I could have added more detailing but I have a lot more of these to get through so “good enough is good enough”