 |
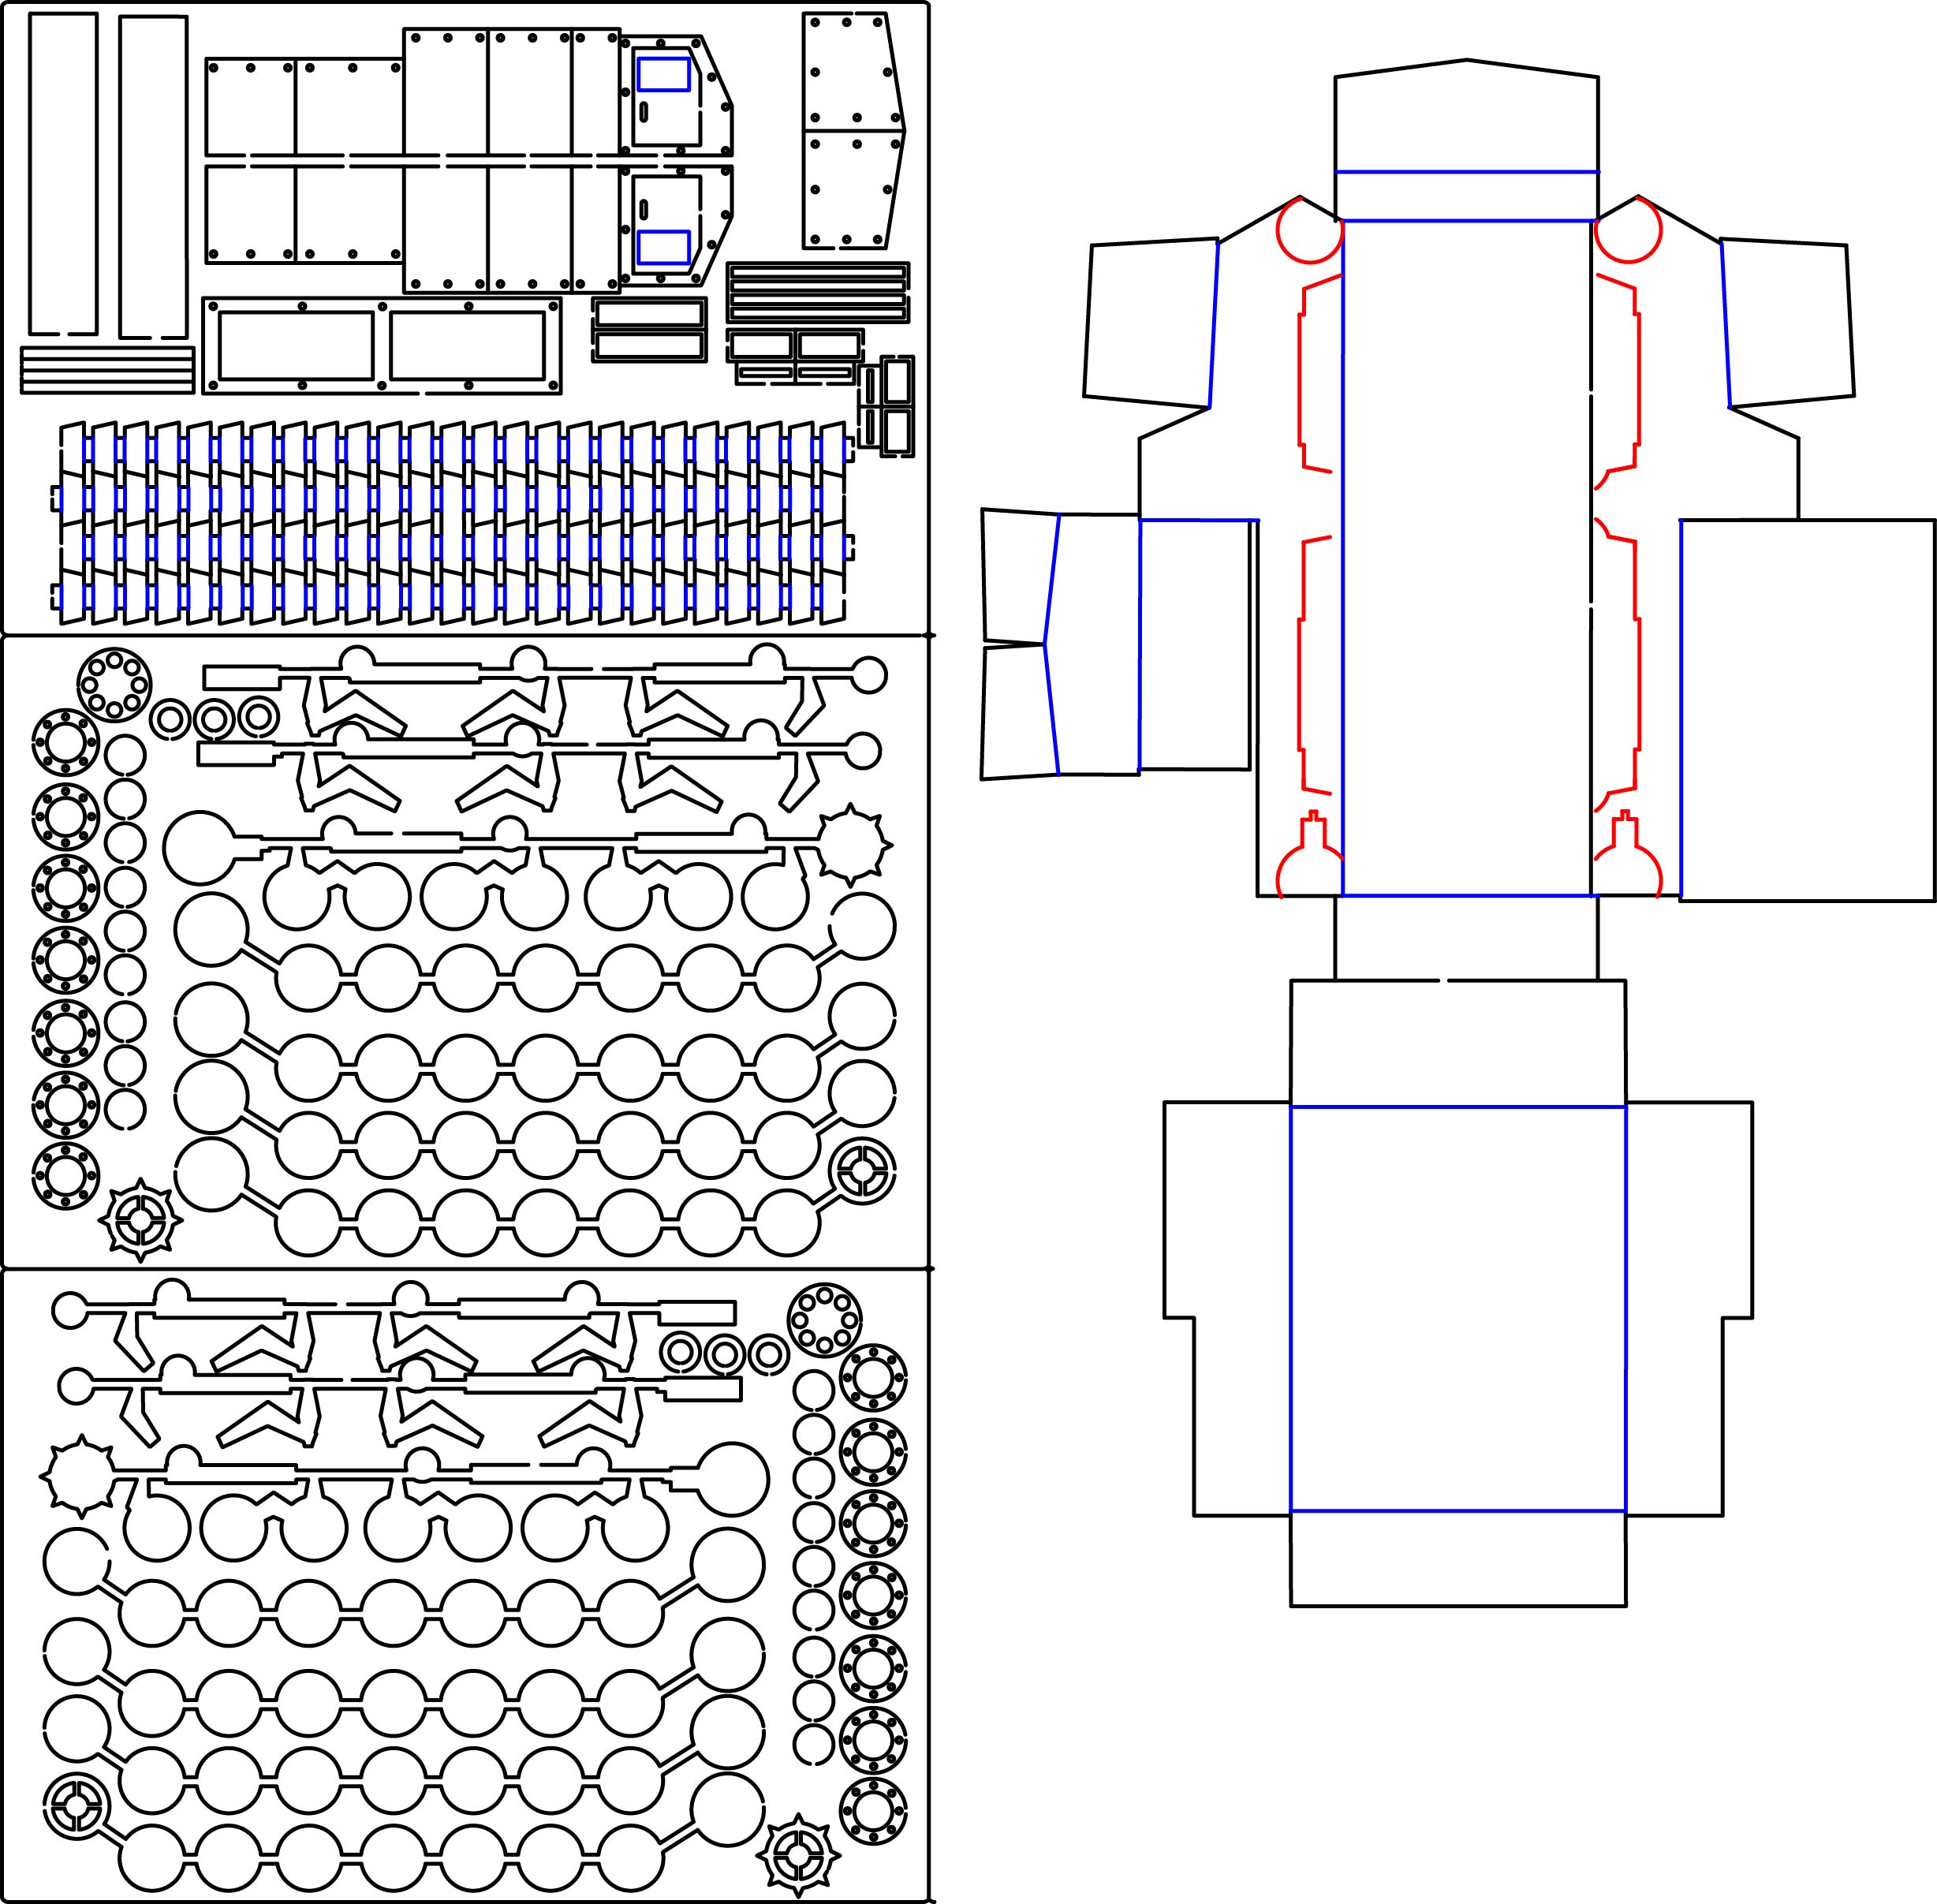
The components for the kit are cut by a laser into the card. To keep the parts on the card some of the lines are incomplete.
When you want to remove a piece from the card, look for the incomplete lines. You will only need to cut these lines to release the part.
I use superglue for construction as it bonds fairly quickly (within 3 seconds) but normal white wood glue works just as well and is a lot cheaper.
I normally use a tiny drop of superglue to glue the part initially, and then go over the entire join with white glue to make a very strong bond and also fill in any gaps (see the very last step for this)
|
| Part 1 - the hull |
|---|
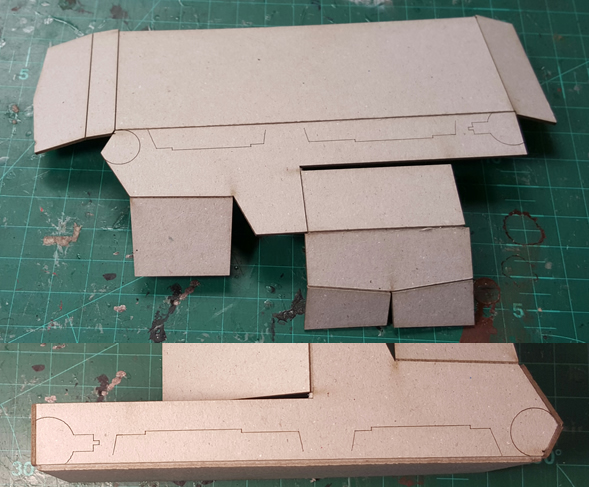 |
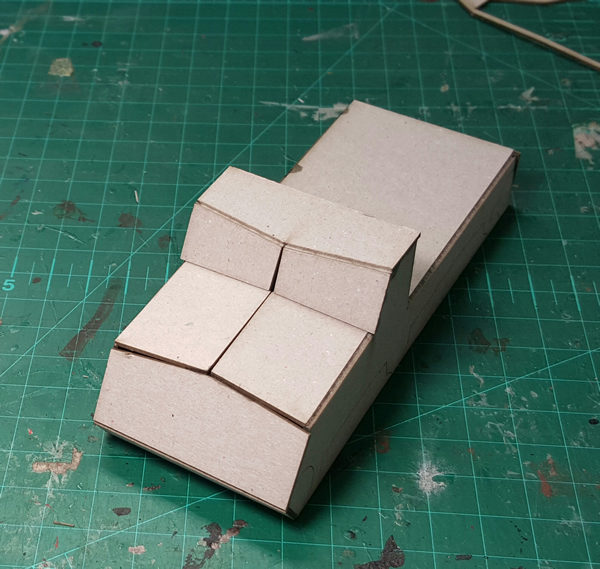
Start with the main part of the hull and pre-fold it so that it bends easily.
If the score lines are not deep enough to let the card fold cleanly, lightly score them so that you get a crisp fold
Note that the sides fit behind the front and back (the front and back pieces are slightly wider to allow this)
|
 |
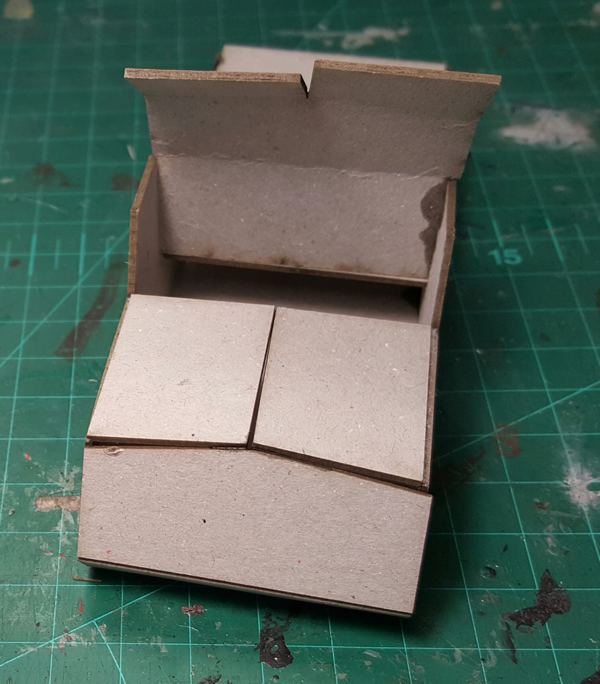
Glue down the front bonnet as shown |
 |
Now glue the other side of the hull, again noting that it fits behind the front and back
|
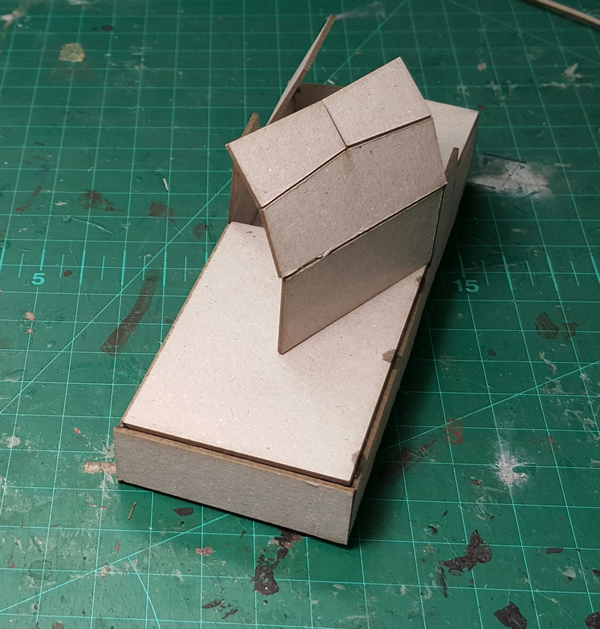 |
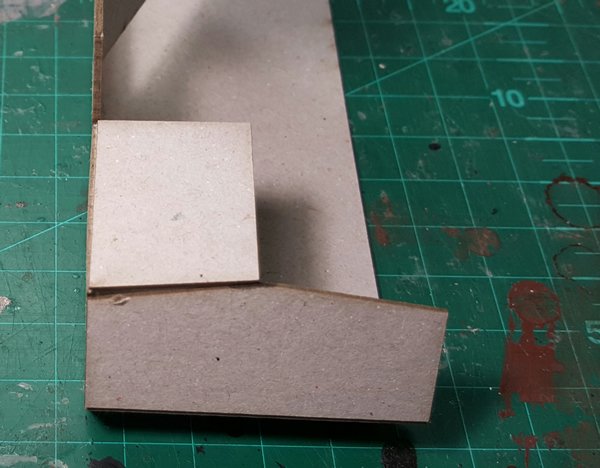
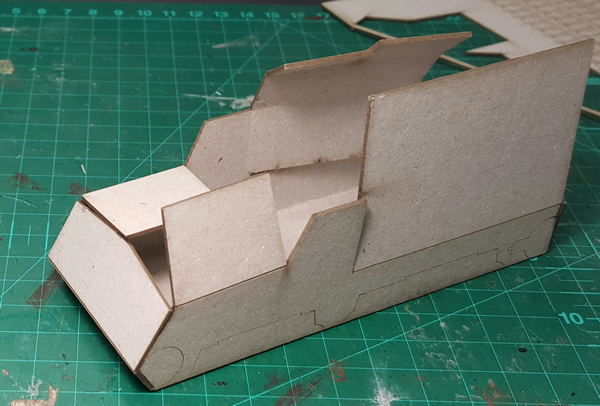
Fold the back down and slide it under the rear of the cab. Glue it in place as shown |
 |
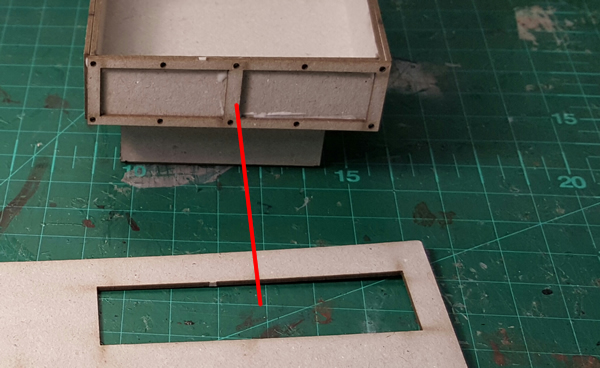
Glue the back of the cab to the hull |
 |
Fold the other half of the bonnet down and glue it Fold the front of the cab down and glue it |
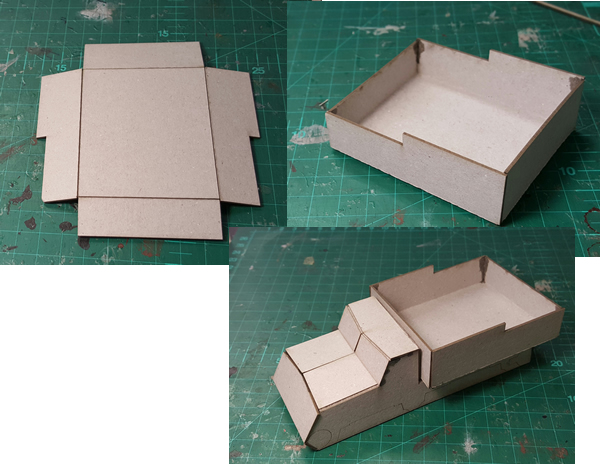 |
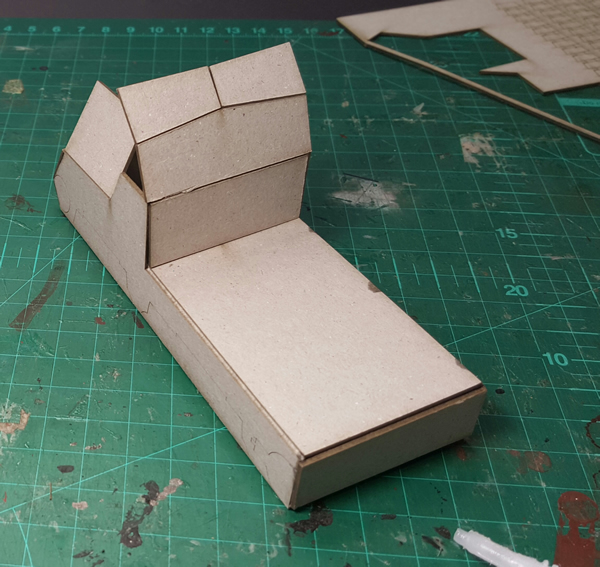
Fold the back bin together as shown, glue it, and then attach it to the hull as shown |
| Part 2 - the tracks |
|---|
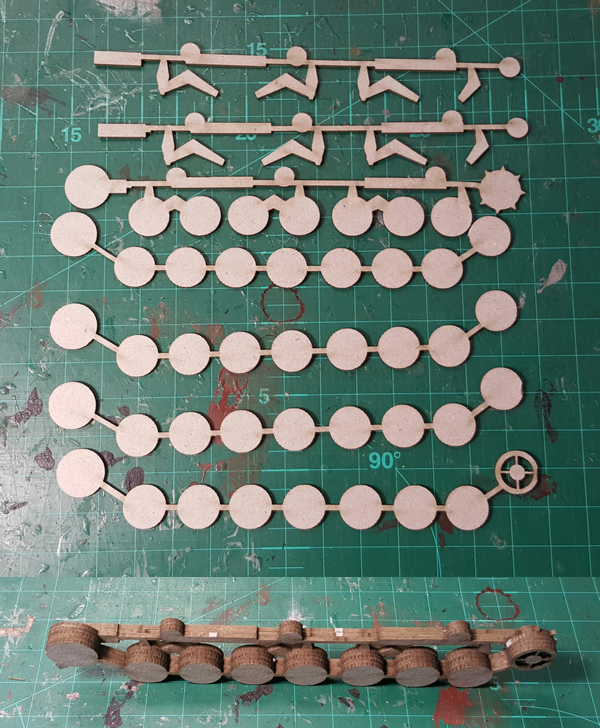 |
The basic track assembly is made up of seven layers, glued together as shown.
If you want to make your model more detailed, you can remove the individual wheels from the little strips that are holding them together
I don't but please feel free.
|
 |
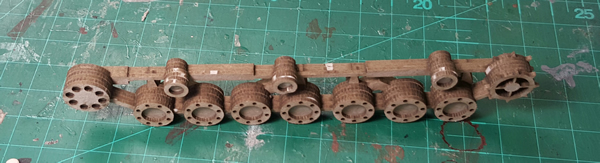
Add the final layer of detailing as shown
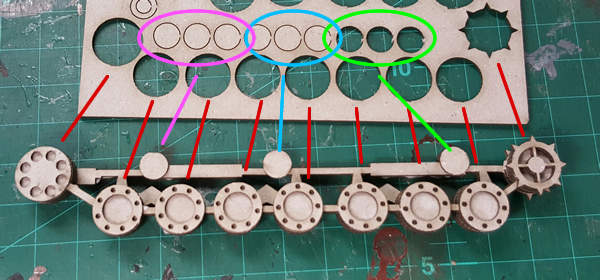
The idler wheels (the small wheels at the top) are made up of 3 layers of card as shown
|
 |
The final layer for the idler wheels are circles that have holes in them
|
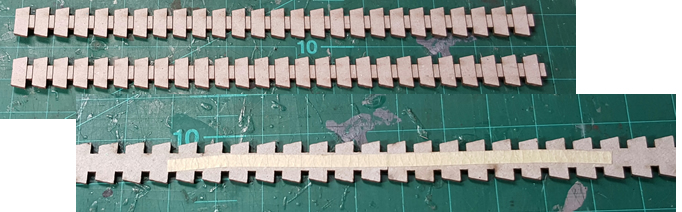 |
For the tracks, start by taking two lengths of track and taping them together using masking tape (or any other tape) as shown
|
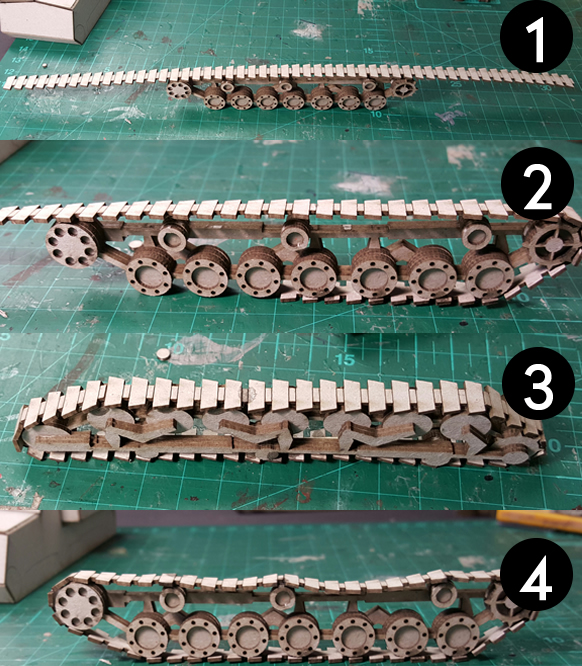 |
Fold the track round the wheels as shown and glue them in place
Real tracks are heavy so add in a bit of sag as shown in image 4
|
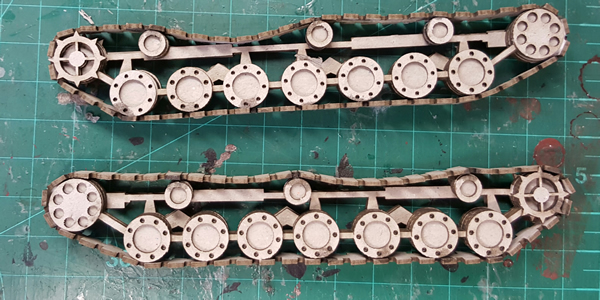 |
Here is a reference image for the two sets of tracks, with sag.
|
| Part 3 - the details |
|---|
 |
Add the side armour as shown |
 |
Add the rear detail as shown |
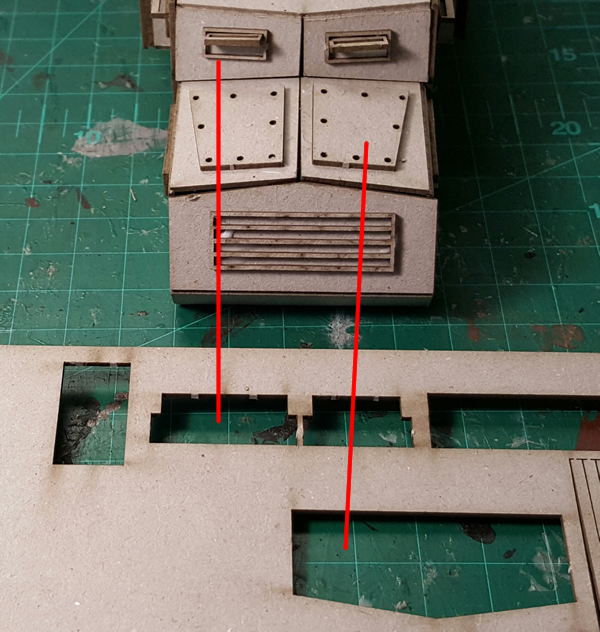 |
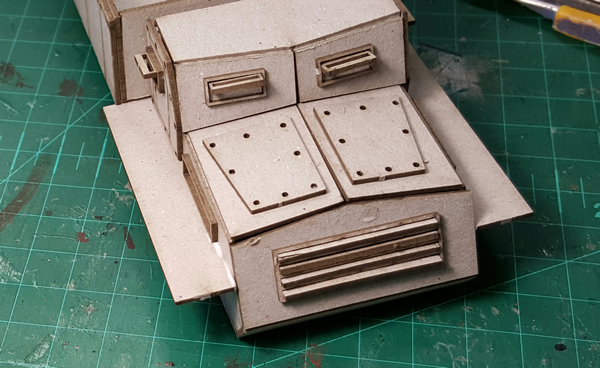
Add the front details as shown |
 |
The front grill as constructed as shown |
 |
Add the mud flaps as shown |
 |
Dealing with gaps White wood glue is a perfect gap filler for cardboard models
Add a thick layer to any gap and then wipe most of it off.
When it dries, it shrinks down and fills the gap perfectly. |
| CONGRATULATIONS! You are done. |
|---|